
“], “filter”: { “nextExceptions”: “img, blockquote, div”, “nextContainsExceptions”: “img, blockquote, a.btn, a.o-button”} }”>
Heading out the door? Read this article on the new Outside+ app available now on iOS devices for members!
>”,”name”:”in-content-cta”,”type”:”link”}}”>Download the app.
The following practice is essentially a stretching class for your lower body. If you’ve never done yin yoga, it can be challenging to convince yourself to give it a try because so many of us are focused on strength, flexibility, and balance and don’t like being still. Although it’s a relatively passive style of yoga, it can still be intense. And you’re going to feel these yin yoga for hips stretches more than you think.
These yin yoga poses specifically target the hips, including internal hip rotation, which we don’t experience a lot of in yoga or in life, so it gives you a chance to stretch parts of the body that are often overlooked. It also includes some different variations of common yin yoga poses that may surprise you, such as Reclined Butterfly on a block with your hips slightly elevated for a little extra sensation.
You’re really trying to relax in the poses. You’re not pushing, you’re not forcing, you’re not using strength. Instead, you’re letting gravity ease you into the pose. If you’ve done yin yoga with me before, you know that I leave you in silence during the poses so you can remain present with yourself. Just keep breathing, and I’ll let you know when it’s time to come out of each pose.
Yin Yoga for Hips and Hamstrings
You’ll notice I use blocks for some of the poses, although that’s not necessary. If you don’t have any props at home, you can do the entire class without them or you could grab some pillows, couch cushions, or folded blankets. You’ll want to stay in each pose for 3 to 5 minutes.
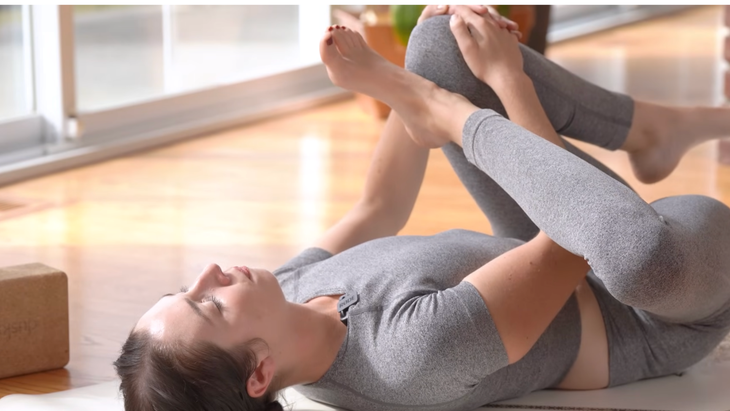
Half Happy Baby
Start lying down on your back. Keep your left knee bent and your left foot flat on the mat. Pull your right knee toward your right shoulder and armpit. If this is already enough sensation, please don’t feel like you need to add anything more. Otherwise, stack your right ankle directly over your knee and hold your right big toe with your two peace fingers or hold your hand alongside your calf.
You’ll notice your left knee and thigh might kind of flop over to the side. That provides a nice counterweight and helps keep your weight evenly distributed so you’re not rolling over to the right. Keep pushing down slightly into your left shoulder so you’re grounded through your left side body. You’re encouraging that knee and thigh down but keeping this stretch as passive as possible. Breathe here.
Reclined Pigeon Pose
Transition into Reclined Pigeon Pose by crossing your right ankle over your left knee. Reach in between your legs to pull your left thigh toward your belly. So again, you’re using a little arm strength here to keep your legs in place, but try as much as possible to let it be easy. Keep your head and shoulders heavy and settled on the ground so you’re not crunching or lifting yourself off the mat. Breathe here.
Carefully release your left leg and check in to see what would feel good here to release and recalibrate. Maybe windshield wipers or hugging your knees toward your chest or stretching out. Then come into Half Happy Baby on your left side.
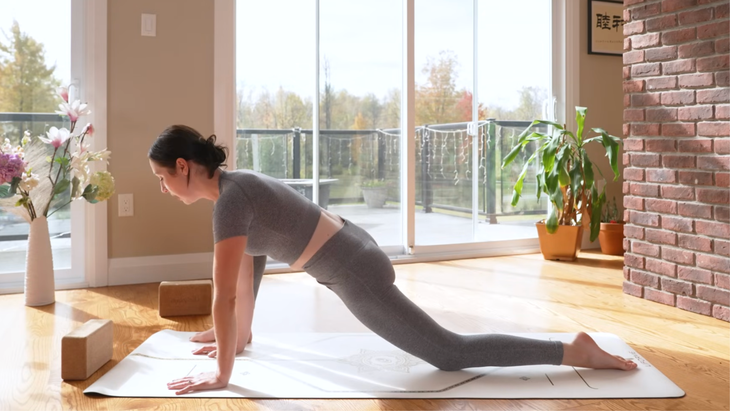
Dragon Pose
Roll over onto one side and ease your way onto hands and knees. Step or walk your right foot forward toward the outer edge of your right hand. Then inch your foot a little forward so you can sink your hips down. This can be an intense pose so you have some options here.
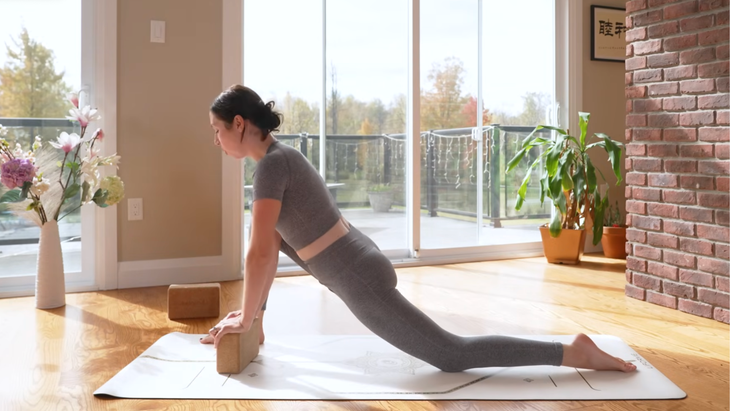
You can bring a block or two underneath your hands to make this more supportive. You can also fold your mat over itself underneath your back knee to provide more cushioning.
Or you can take Winged Dragon or Crooked Monkey by lifting your right toes and rolling onto the outer edge of your right foot so your knee falls open. You can remain upright, fold forward, or add a side bend in which you move away from your right leg and come onto your forearms.
You don’t need to have props but you can use one under your forehead or a couple under your forearms for a little support. You don’t want to work your neck or upper back muscles too much. Your arms are providing stability more than strength.
Pay close attention to how this pose feels, making sure you’re not going past your edge. If it feels like you’re struggling against the floor and against the pose, that’s how you know you’ve gone too far. Remember, we’re here for a few minutes, so take your time and get settled into a version that works for you. Breathe deeply here.
Depending on which variation you were doing, slowly start to lift yourself up, coming back through to center and taking your time coming out of this really intense hip stretch. Check to see what would feel good, maybe a shape with straight legs or straightening that leg back behind you. Come to a kneeling position for a few moments. Then set yourself up for the pose on your second side.
Star Pose
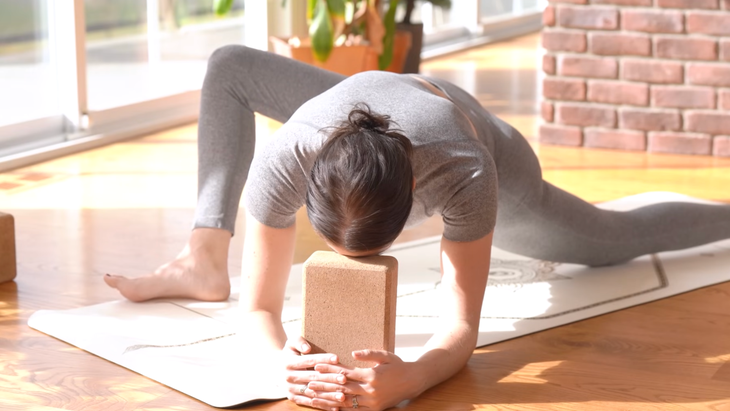
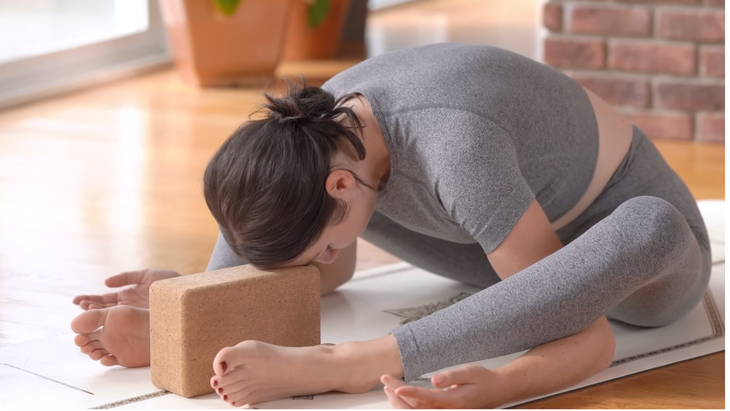
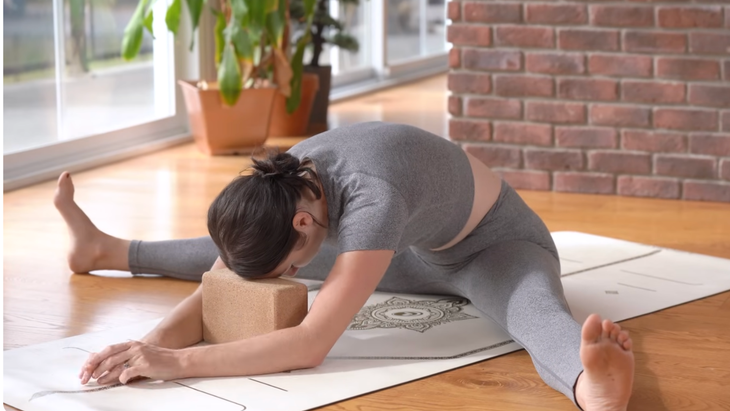
This pose is similar to Butterfly Pose in yoga but instead of having the heels really close in and your feet together, you’re going to bring your legs farther out, so it’s more than a 90 degree angle, and widen your feet so they’re about like a block width apart. And then you’re going to hinge forward and fold down. A block can be really nice, depending on where you are in this pose, to give yourself a little bit of support.
Another variation is to thread your arms underneath your shins, palms facing up. You can play around a little bit with the angle of how bent your knees are. So every time you exhale, see if you can relax and settle a little more.
If you had your forearms underneath your legs, walk them back in. Take your time as you lift yourself out of any forward fold. It might feel good to do a little windshield wiper motion here with your legs to reset.
Straddle Pose
From sitting up, take your legs wide, although they really don’t need to go all that wide, especially because you’ll be holding the pose for an extended period of time. Let your spine round naturally and let gravity pull you deeper into the pose, not pushing or pulling or forcing myself to get closer to the mat. Find that nice stretch and sensation through the hamstrings, lower back, and along the spine. Breathe here.
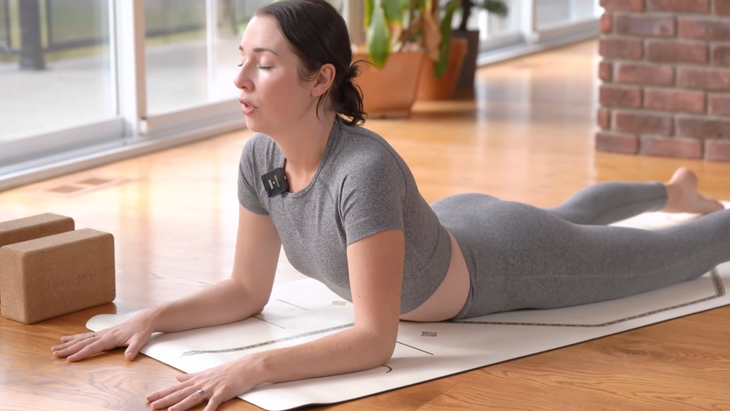
Sphinx Pose
Slowly ease out of your forward fold, using arm strength to unroll, inch by inch. Even though this is a hips focus class, you’re going to come into Sphinx Pose to give your lower body a break. Come onto your belly, bringing your forearms in front of you. Roll your shoulders back and open through your chest. If you feel any kind of pinching or discomfort in your lower back, take your feet a little wider apart. Try to relax your lower body.
Imagine that when you inhale, you’re inflating your entire upper body like a balloon—so not just breathing into your chest but also expanding through your sides, upper back, and lower belly.
Take one more big, deep breath here and release down to the mat.
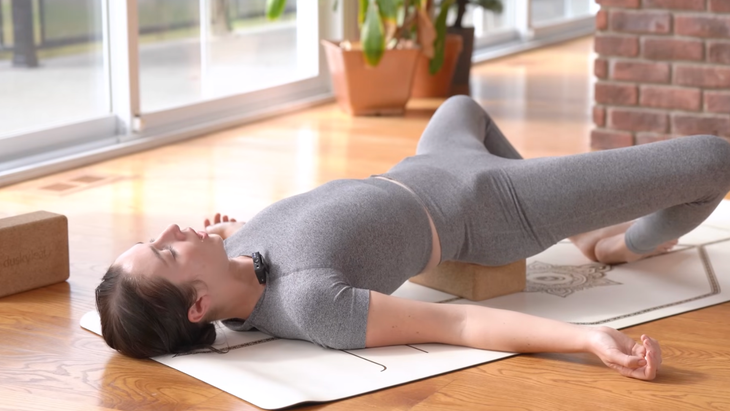
Reclined Butterfly
Roll over onto your back. Your last pose before Savasana is Reclined Butterfly. A traditional version of this pose is bringing the feet together and letting your knees fall open. I like to do this elevated with the block underneath the sacrum on its lowest level. This allows the knees to drop a little farther apart and increase the stretch. If it’s uncomfortable with the block, of course leave it out and you can instead keep your back on the mat.
Rest your arms by your sides, place your hands on your belly, or maybe even reach your arms overhead if you’d like to open through your chest and shoulders. Relax your hip flexors during this stretch. Breathe here.
When you’re ready, bring your knees back together and your feet flat on the floor. If you had a block, you can shift it out of the way. Check in to see what would feel good for your body, especially your lower back, before you come into your final resting pose.
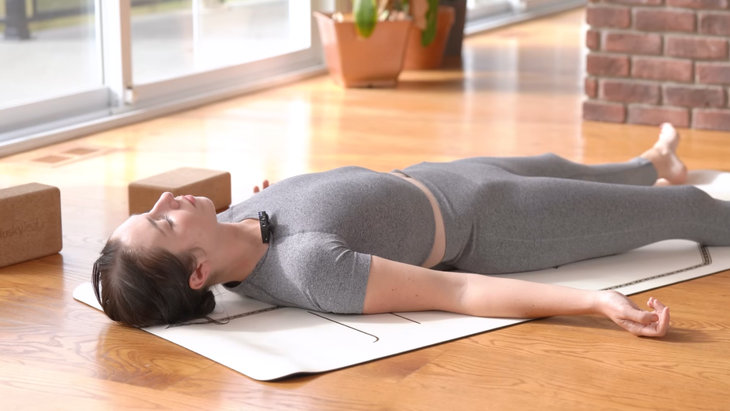
Savasana
Extend your legs and arms, palms facing upward. Let yourself fully settle here during these final few minutes of rest.
When you’re ready, deepen your breath and bring some movement back into the body. It might feel good to stretch your arms overhead, reaching your fingertips away from your toes. Then roll over onto one side and slowly come up to take a seat. You can close your eyes once you’re there, keep the focus inward, hands together at the front of the chest, just taking a moment to observe the effects of your practice.
Thank you so much everyone for doing this yin yoga practice with me. I hope it felt good for your hips and your entire lower body.


