

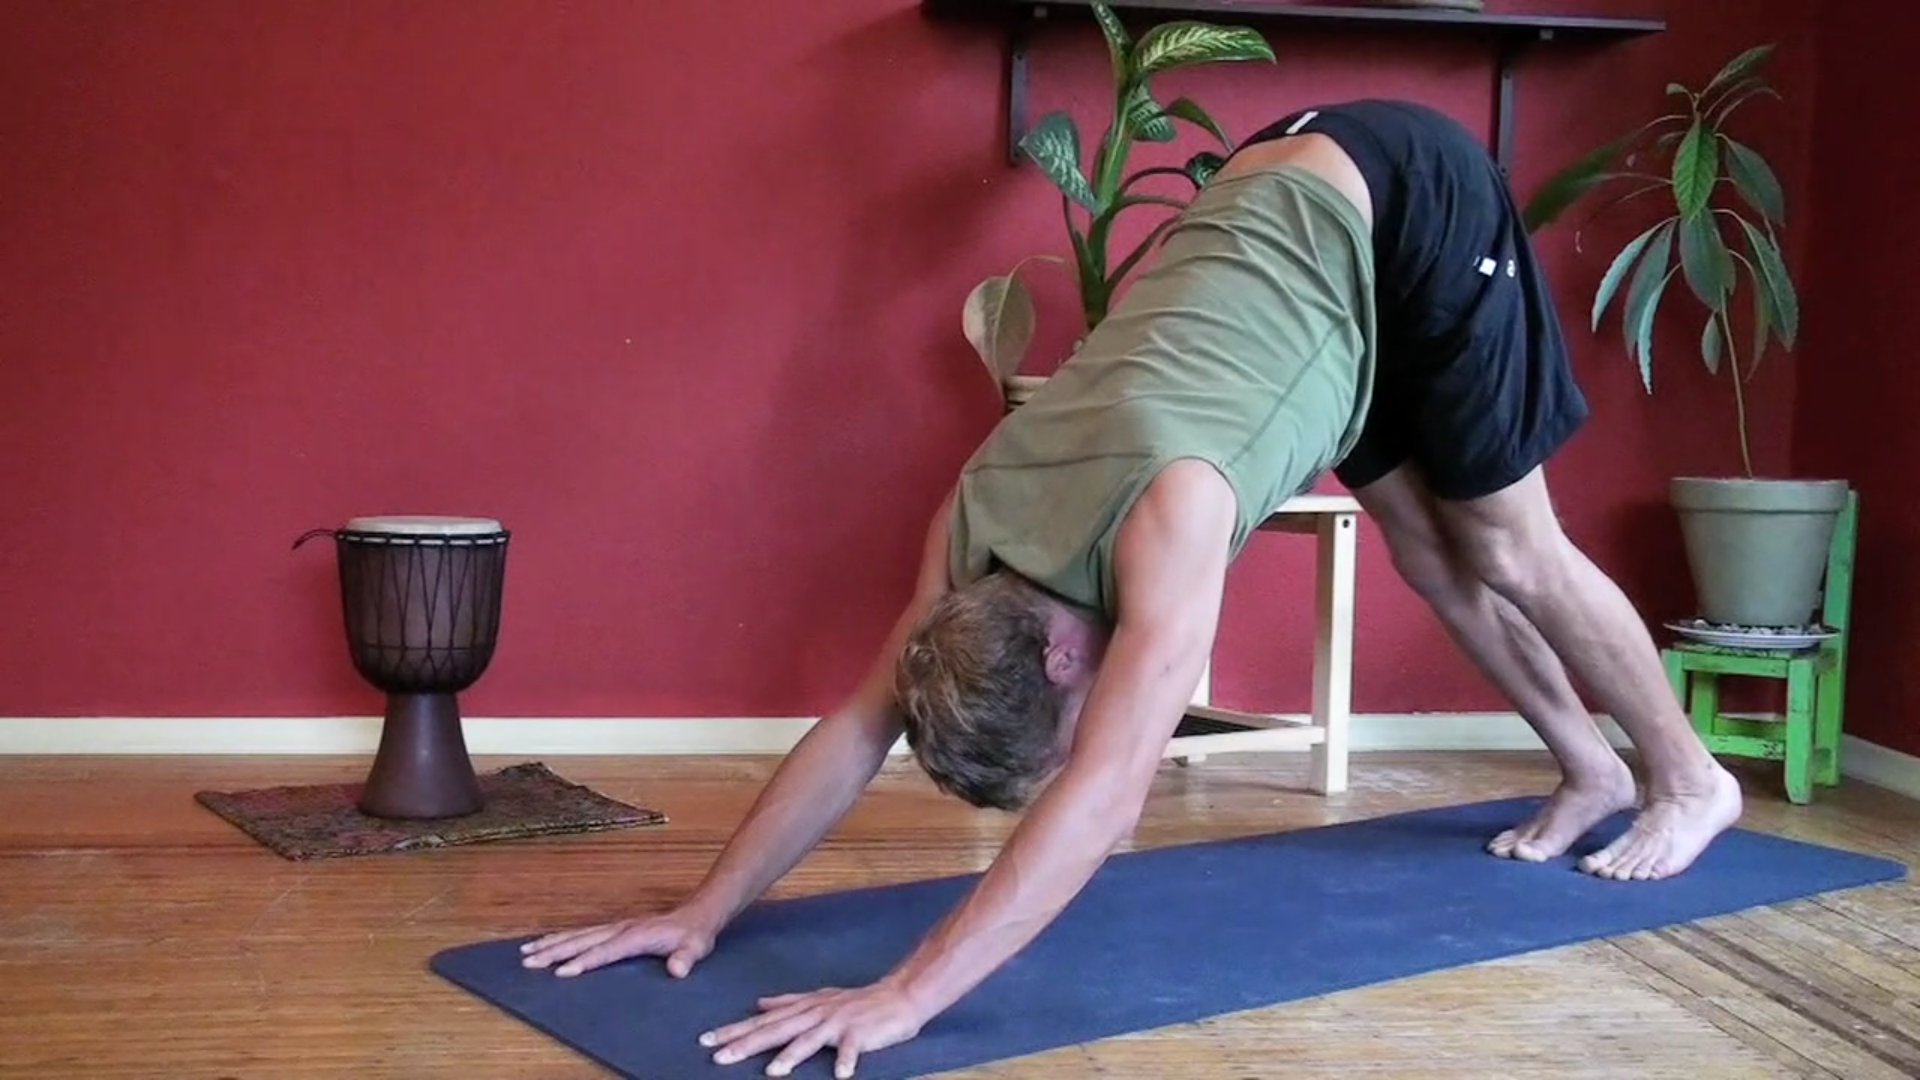
Downward-facing dog (adho mukha svanasana) is a common pose in yoga and can provide a whole host of benefits. In modern yoga, it’s often encountered during yoga flows, including sun salutations.
Some instructors describe downward-facing dog as a resting pose, but as you will discover, unless you’ve already encountered this, it can be demanding. Even though you’re static in the pose, correct alignment and breathing are key to enjoying the benefits this asana has to offer.
Here are some tips to focus your awareness and make your movements and positioning more controlled and precise so that you can feel the transformative value of this pose in your practice.
Introduction to Downward Facing Dog
The primary physical benefit of downward-facing dog is its ability to give your back a really good stretch.
But it’s also great for strengthening the shoulders, arms, and wrists, and it will do wonders for your hamstrings. Since spinal lengthening is the main event of a downward-facing dog pose, it’s helpful to keep this in mind when you do it.
Downward-Facing Dog: Positioning
To perfect your downward-facing dog—and that means getting it perfect for you, not for a panel of judges—think about:
- Your hands and fingers
- Your arms
- Your core, butt, and back
- Your legs and thighs
- Your feet
- Your shoulders
1. Hands and fingers
Your hands will support much of your weight in this pose. To avoid compressing nerves and to improve your stability, remember to use your fingers and think about spreading the weight across your whole palms, not just the outer edges.
Start in tabletop pose with your hands about shoulder-width apart. Spread your fingers. Feel the pressure in your finger pads and aim to distribute your weight across your palms.
2. Your arms
This will transform your downward-facing dog practice. You want to externally rotate your arms, which brings your elbows toward your body. If you were to do a push-up in this position, your elbows wouldn’t bow outwards toward the edges of your mat. Rather, they would move backward, toward your hips.
Maintaining this external rotation of your arms while keeping your hands flat on the ground makes downward-facing dog challenging and more complex than people typically think.
Move from tabletop into child’s pose. This will lengthen the spine and your arms. Note that it’s also a transition pose into downward-facing dog.
3. Your core, butt, and back
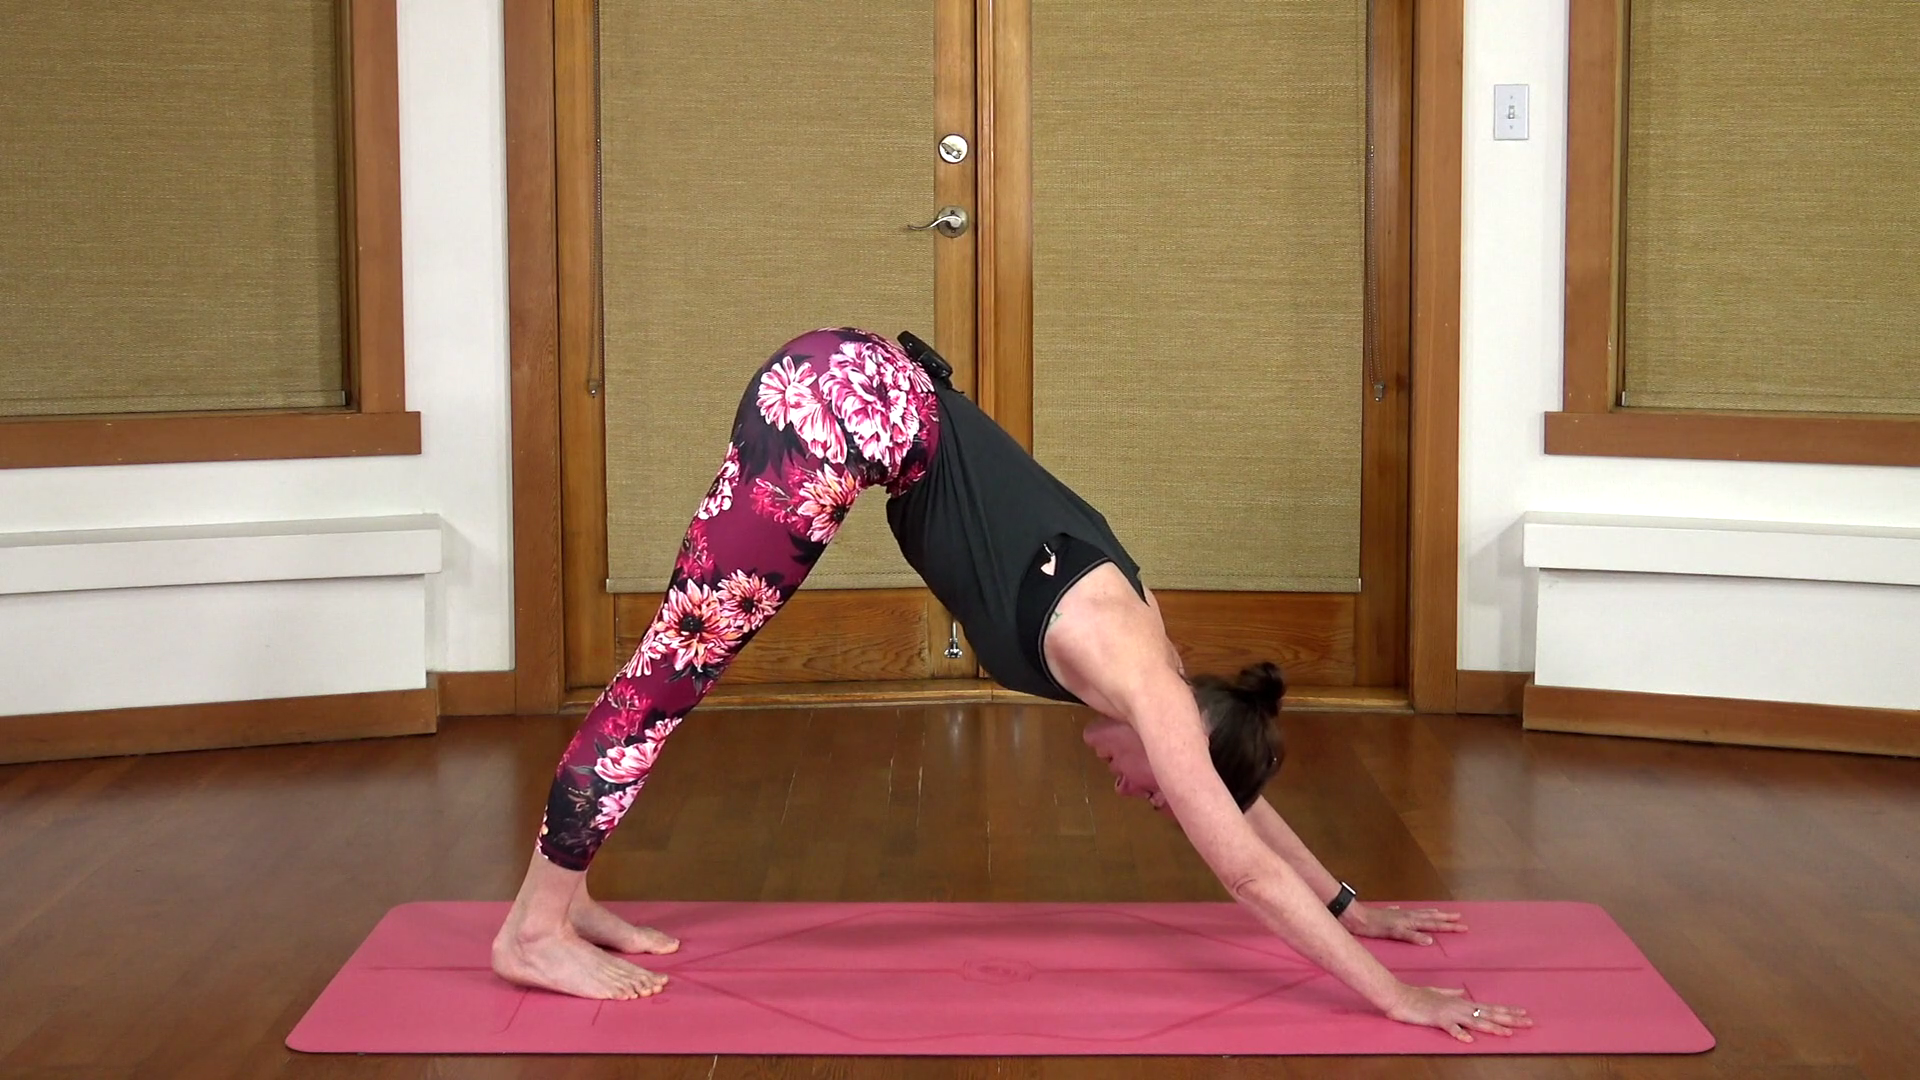
Now that your arms and hands are in the “correct” position, it’s time to transition from child’s pose into downward-facing dog by engaging your core and raising your hips. Try to keep your butt high and reaching back.
Keep your back straight. If you’re very flexible, you can think about straightening your back by drawing your rib cage in.
4. Your legs and thighs
You can keep your legs bent if you need to. It’s a good idea to do this while you make sure your hands and back are properly positioned.
Now, start to press the thighs back. If you can’t quite straighten your legs, that’s fine; it’s the straight back that’s most important, and you’ll still be feeling the nice stretch of your hamstrings.
5. Your feet
Your feet should be about hip-width apart. Try this and then adjust as necessary, depending on what’s comfortable and stable for you, and how your back feels. A wider foot distance may feel better for tight and sensitive lower backs. Gazing at your feet, you’ll be able to see if they are properly aligned or not. Try to avoid having them turn inward or outward. Same goes for your knees. Adjust your position very gently if necessary and hold if comfortable.
Let your heels drop. Whether they touch the mat or not is no biggie. The important thing is that you let them drop. Not doing so is a common mistake people make when doing this pose. Correcting it will transform the way it feels, shifting the trajectory of the pose backward. You’ll also get a delicious stretch through the calves, achilles and arches of your feet.
6. Your shoulders
As you push into your palms, try to open your shoulders away from your ears. Pull your shoulder blades apart rather than pressing them into each other. You can also think about keeping your collar bones wide and spacious on the front side. This helps elongate your upper back.
You can hold downward-facing dog for a few breaths.
Classes on Downward Facing Dog Pose
If downward-facing dog pose is new to you, these tips will give you an excellent foundation for your practice.
For more advanced yogis, it’s excellent to revisit poses in detail and see how we can improve our practice or get more from a pose with modifications.
Here are two classes that focus entirely on downward-facing dog so you can work on nailing it every time, whenever you encounter it during your practice.
In Downward-Facing Dog Pose, David takes you through postural considerations and clearly demonstrates how to do the pose. This is an excellent class to familiarize yourself with downward-facing dog, especially if you’re worried you’re not doing it properly.
In Breaking Down Downward-Facing Dog, Rachel gives you some of the background of downward-facing dog and gets into granular detail about what to do with your hands and fingers, arms, shoulders, back, core, hips, thighs, and feet. This class is a must for anyone who wants to think more deeply about downward-facing dog and take their practice to the next level.
Of course, many, many yoga classes incorporate downward-facing dog, and our instructors always use intuitive cues that will help you get in the right mindset and body space.
Downward-Facing Dog Modifications
If traditional alignments don’t feel right for your body today, you can make many modifications for differences in physical strength, anatomy, flexibility, or to adapt due to an injury. You’ll still be doing downward-facing dog.
Body Positioning and Variations
Don’t let tight legs get in the way of stretching your back. If you’re feeling tightness in your hamstrings or calves, go ahead and bend your knees as much as you need. Focus on the stretch, not the straightness.
Walking your feet closer to your hands can make it easier to lift your hips into downward-facing dog.
If you have a shoulder injury or a shoulder mobility issue, try bending your elbow to the side.
To increase the intensity of downward-facing dog, you might try lifting one leg off the ground. Hold the position for several breaths before changing sides. This makes balancing more complex and can increase your core strength.
Using Props
You can take pressure off sore wrists and/or tight hamstrings by placing your hands or forearms on yoga blocks instead of the mat. Note that this also shifts more weight into your legs, which might make the pose more challenging for your lower body.
For further relief of your wrists, you can come down onto your elbows into dolphin pose. Again, you may wish to use blocks or other props beneath them for support.
Placing your hands on a chair to do downward-facing dog is helpful to reduce the pressure on your wrists, but also your shoulders.
Using a wall can reduce the weight on your wrists and pressure on your shoulders. It may also help you keep your back naturally curved. To use a wall during downward-facing dog:
- Place your palms flat against the wall at about shoulder height.
- Draw your hips back.
- Lower your torso so that it’s roughly at 90 degrees to your legs.
- Drop your head.
However you like your downward-facing dog, our classes and tips can help you get the most from your practice. Happy stretching!

")


